Home
> FAQs
> Programari i Aplicacions
> Sincronització de llocs Sharepoint
Sincronització de llocs Sharepoint
Per poder configurar la sincronització de onedrive i el seu bon funcionament és molt important tenir instal·lat Windows 10 i tenir a el dia seves actualitzacions.
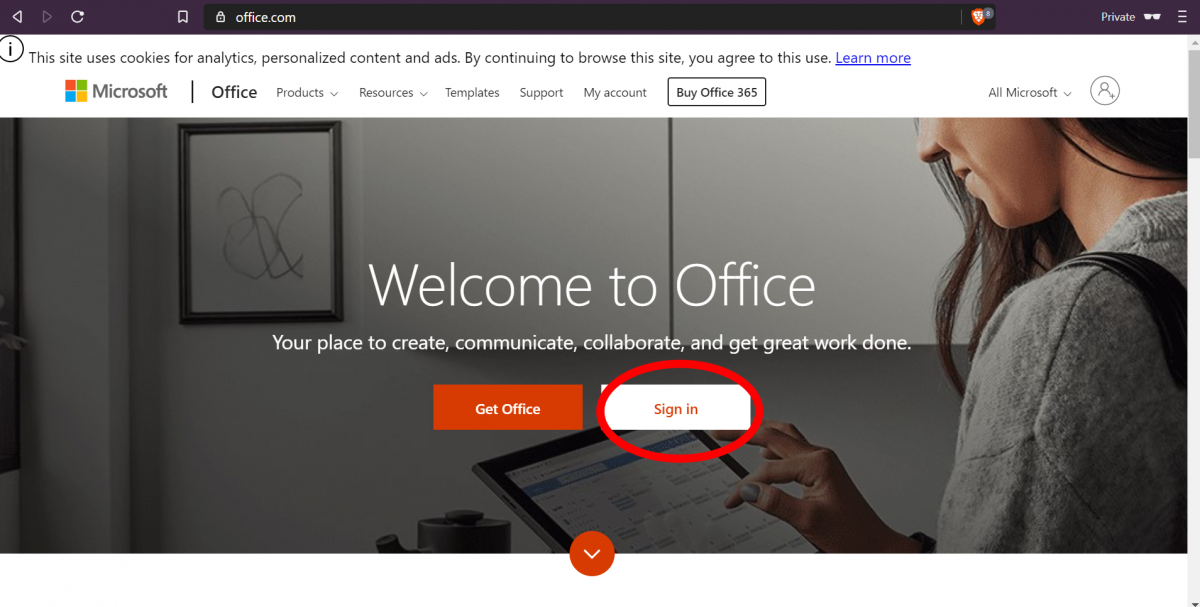
- Primer de tot farem servir una navegador web per accedir a Office.com. Un cop a la pàgina accedirem a l'enllaç Inicia sessió (Sing In).
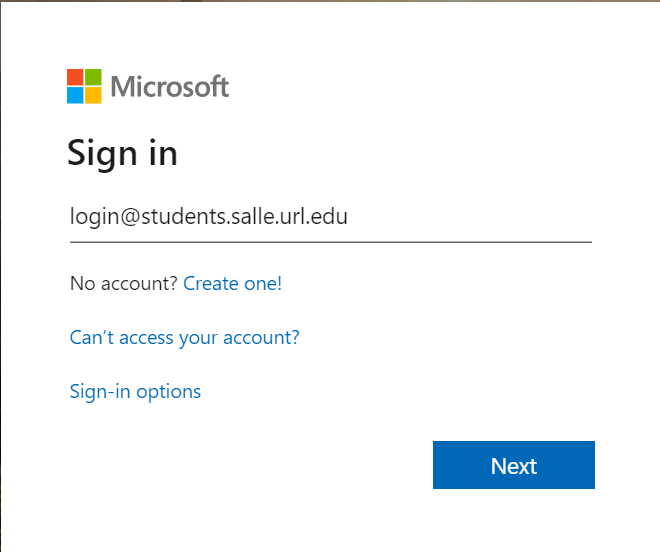
- S'obrirà una finestra que ens demanarà l'usuari. Haurem d'introduir el nostre usuari de correu incloent el domini i prémer el botó Següent (Next).
Alumnes : <login>@students.salle.url.edu
PDI / PAS : <login>@salle.url.edu
Alumnos

PDI / PAS
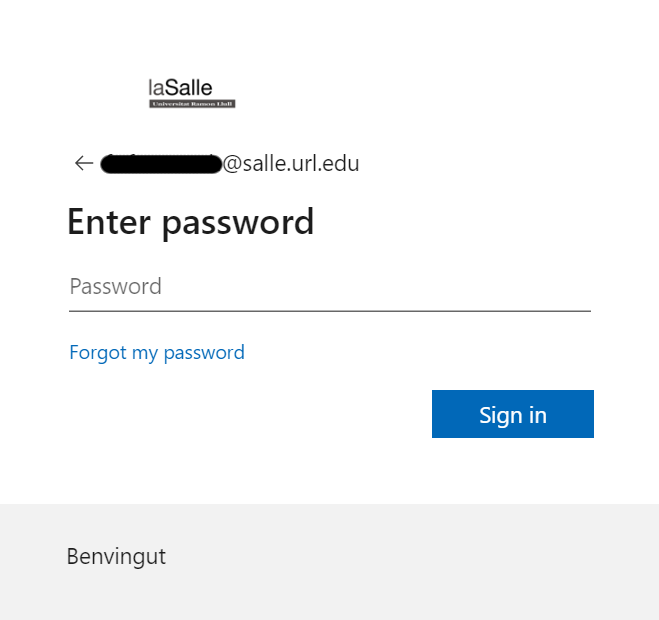
- A continuació ens demanarà la contrasenya. La introduirem i apretarem el botó Inicia sessió (Sing In).
- Apareix la pàgina inicial de Office.com. Entre les aplicacions veurem que apareix Sharepoint. La seleccionem.

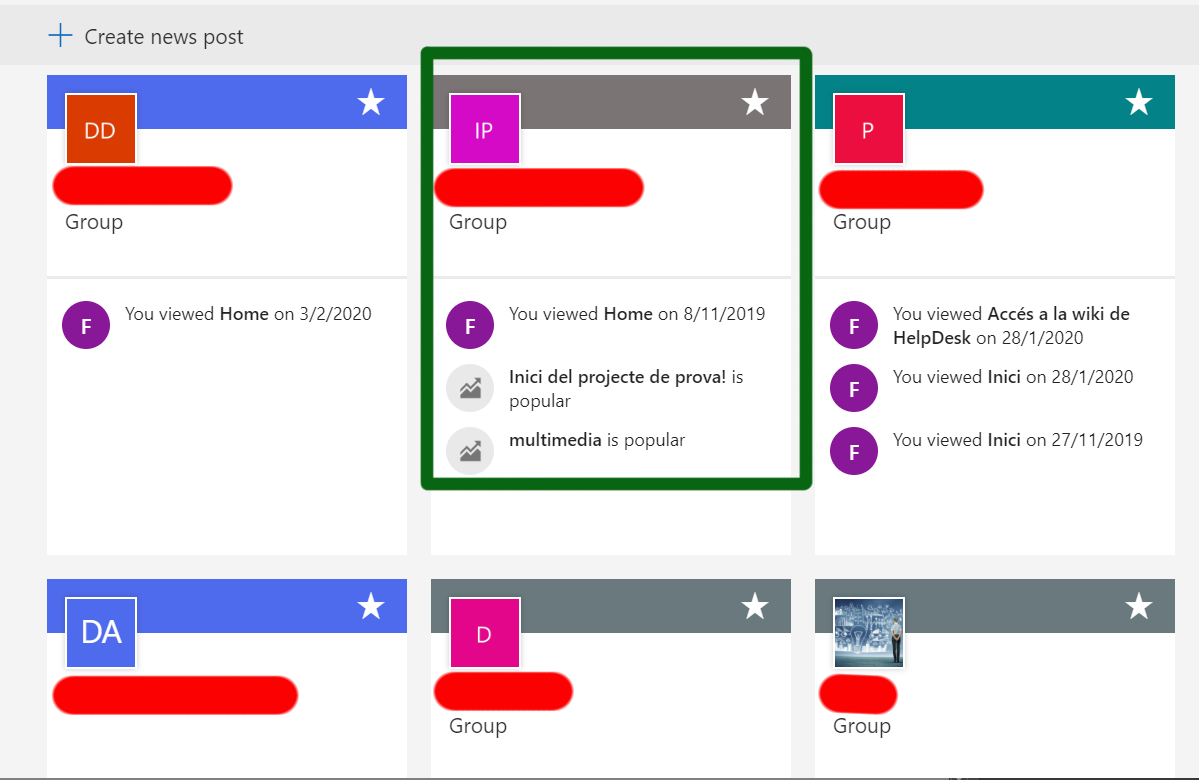
- Se'ns obrirà una pàgina on veurem tots els llocs de SharePoint que seguim. Seleccionarem aquell que volem sincronitzar.
- Un cop obert el lloc seleccionat hem d'utilitzar el menu lateral esquerre per seleccionar la pàgina que conté els fitxers ultilizando l'enllaç Documentos (Documents).
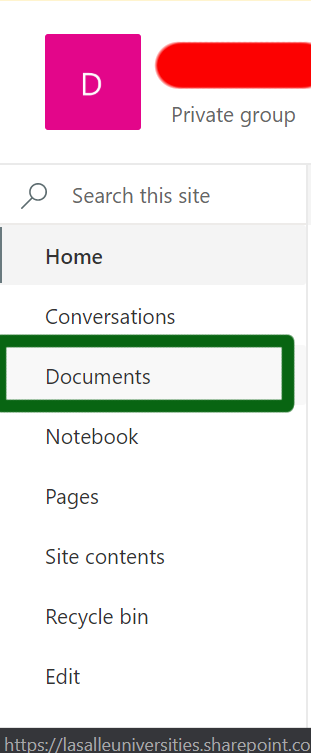
- Aquest enllaç ens portarà a la pàgina de documentació del lloc de Sharepoint. Des d'aquesta pàgina seleccionarem l'opció de sincronitzar (Sync) de menú superior.

- Al fer clic sobre aquest enllaç, s'obrirà una finestra demanant-nos obrir l'aplicació de OneDrive local de l'ordinador. Seleccionarem Obrir Microsoft onedrive (Open Microsoft onedrive). L'aplicació onedrive serveix per sincronitzar tant el nostre onedrive com els llocs de Sharepoint als quals tinguem accés.

- En cas de no haver configurat anteriorment l'aplicació onedrive local, aquesta demanarà que ens identifiquem. Ens demanarà el nostre usuari. Novament introduirem el nostre usuari de correu i farem clic sobre el botó Següent (Next). En cas que l'equip estigui en domini actiu de windows (Windows AD), agafarà automàticament l'usuari amb que ens validem a l'entrar a Windows (normalment això passa si ets un PDI / PAS que utilitza un equip de la Universitat) i simplement haurem de seleccionar Inicia sessió (Sign In).
Alumnes
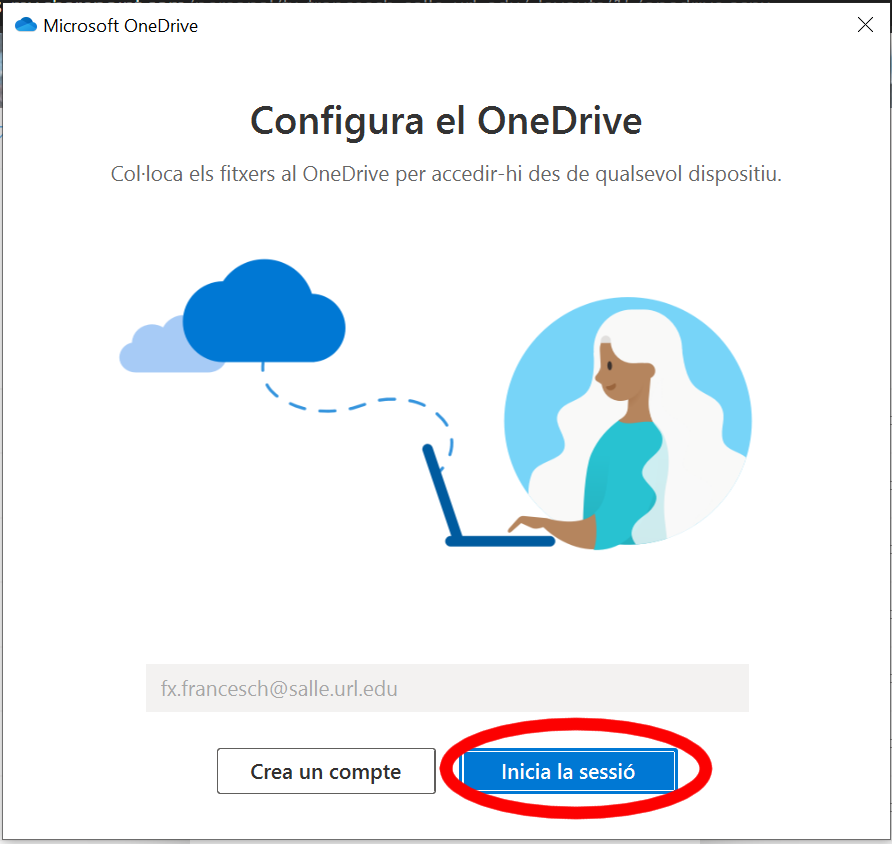
PDI / PAS
- A continuació se'ns tornarà a demanar la contrasenya. La introduirem i seleccionarem l'enllaç Inicia sessió (Sign In).

- L'aplicació ens demanarà la ubicació on emmagatzemar els fitxers sincronitzats. Per defecte ho farà a C: \ Users \ <login> \ onedrive - La Salle.

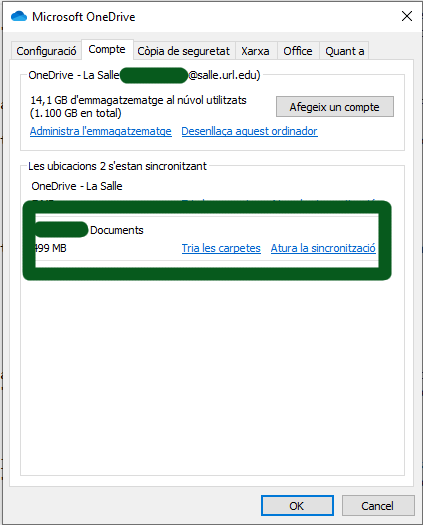
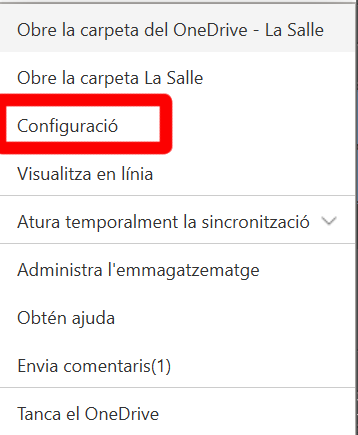
- A partir d'aquest moment es començaran a sincronitzar els documents a la carpeta destinació. Per poder modificar les carpetes que volem sincronitzar podem fer-ho accedint a menú de configuració. Per fer-ho hem de fer clic amb el botó dret sobre l'enllaç a onedrive que es troba a la barra d'eines inferior.

- S'obrirà un menú desplegable i haurem de seleccionar Configuració.
- Al seleccionar-ho podrem veure una finestra on gestionar les opcions dels llocs de Sharepoint sincronitzats i del nostre onedrive (en cas de tenir-lo sincronitzat).