Home
> FAQs
> Programari i Aplicacions
> Acces remot a aules VFX
Acces remot a aules VFX
Per a facilitar la realització de projectes en el grau d'animació i efectes visuals. El departament de sistemes ha dissenyat un sistema para utilitzar equips y les seves dependències (com Nassus, llicèncias…) a distància per als diferents alumnes.
Per a això es necessària la instal·lación de la VPN per conectar-se amb el campus i el software NoMachine per a la connexió amb els equips.
Establir la connexió VPN
Utilitza aquest enllaç en funció del teu sistema operatiu (SO).
Com accedir a la VPN - Windows
Com accedir a la VPN - MAC
Com accedir a la VPN - Linux
Un cop tinguis la VPN funcionant pots passar al següent punt.
Establir la connexió amb l'equip assignat a NoMachine
Descarregar el software NoMachine Enterprise Client:
Instruccions per Windows
- Executa l'instalador, fes clic novament a Següent per acceptar la carpeta d'instal·lació a continuació, fes clic en Següent (Next) dues vegades. Finalment Finalitzar.
- Reinicia l'equip.
- Inicia el client y crea una nova connexió “Nuevo”.

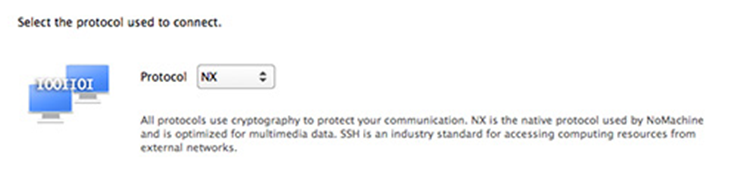
- Protocol NX.
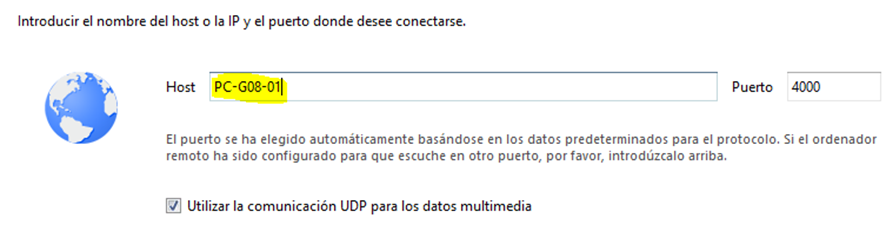
- Posar els hosts que teniu disponibles (NO podeu ni debeu connectar-vos a altres hosts que no siguin els assignats). Següent.
- Contrasenya i Següent.
- No s'ha d'utilizar un proxy. Següent.
- Estableix el nom que prefereixis a aquesta nova connexió i Finalitzar.
Ja podreu accedir a aquest equip només obrir el programa (sempre amb la VPN activa) clicant sobre la icona.
- Acceptar la autenticitat del host
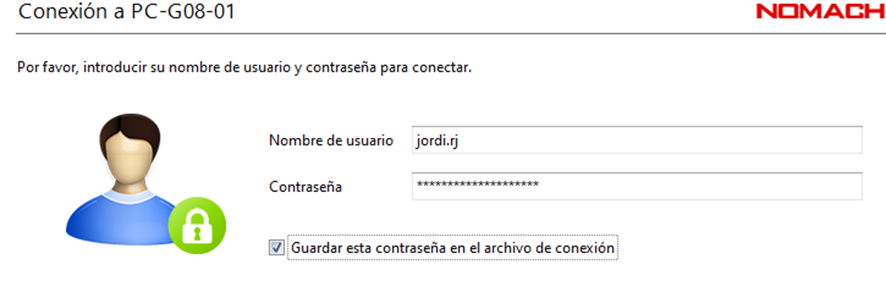
- Introduïr el vostre usuari (sense @…) i contrasenya. OK
- Atendre al tutorial, us ajudarà a comprendre ràpidament el software.
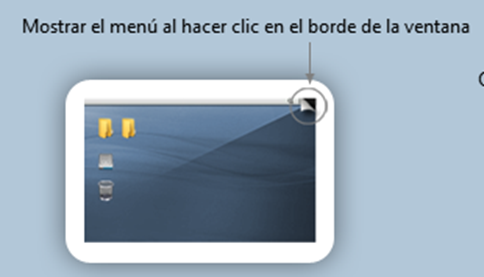
- Una vegada creada la connexió, fes clic al marge de la finestra o pulsa la combinació Ctrl+Alt+0.
- Anar a pantalla
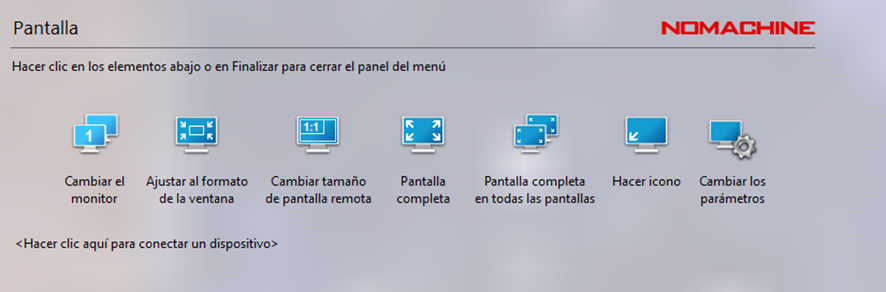
- Ajustar al format de la finestra i pantalla completa
- Canviar els paràmetres
- Màxima resolució i ajustar la calitat (pot afectar al rendiment depenent de la calitat de vostra connexió).
- Apretar el botó Seqüencies especials y clicar "Ctrl + Alt + Supr” per desbloquejar l'equip.

- Ja podràs utilitzar l'equip de igual forma que en l'aula.
Preguntes freqüents
- Com puc fer Ctrl + Alt + Supr?
Una vegada entras al menú del cliente de NoMachine, des de la cantonada superior dreta (una pantalla translúcida d'opcions) o amb la combinació del teclat + +. Just sota el botó finalitzar existeix l'opció d'enviar seqüencies especials, entre d'altres el ctrl + Alt + Supr.
Per a més informació revisa el punt 2.6 d'aquest mateix manual.
- Puc transferir arxius entre l'equip remot i el local?
Degut a l'ample de banda, desde sistemes no recomanem la transferencia entre la universitat i el domicili.
- Necessito alguna funcionalitat extra, s'ofereix?
Pots trobar tota la informació y altres funcionalitats extres en l'enllaç següent: https://www.nomachine.com/DT04O00140
Revisa que la VPN estigui correctament connectada. Mira la imatge del punt 1.6- Si la VPN està correctament connectada, revisa que estiguis entrant en un dels equips assignats. Si tot està correcte notifícans para que validem el funcionamient de l'equip.
- Se'm queda la pantalla en blanc al connectar
Espera uns pocs minuts o reinicia la connexió. Pots provar també en un altre equip.
- Tinc molta latència o “lag”.
Valida que la teva connexió sigui estable, utilitzar cable enlloc de wifi ajuda enormement a la calitat de la connexió, també pots baixar la calitat seguint el pas 2.5.
Qualsevol incidència envia'ns un correo a helpdesk@salle.url.edu per a rebre ajuda.